This tutorial is not meant for beginners. You should have an understanding of the process of porting weapons and how to setup your map's/mod's scripts. This is the first part (in a sense) on how to port dual wields into WaW using animations exported from Treyarch's games (BO1 and BO2 as of now). The next part (when I get to it) will involve Infinity Ward's as they do things slightly differently that makes the process a bit more difficult/longer.
In recognition of the massive support I've received for the mod, I decided to release a beta version that currently works on Kino and FIVE.
Simply put, its a mod (similar to my previous Rollon's Gun Mods) that replaces the weapons used in-game. Wall chalks and hintstrings have been modified to state the correct weapon and some weapons have been removed from the box for use.
As many of you know, there are a lot of different settings available in a weapon file that can make a gun amazing or absolutely horrible. Due to what I've seen in a lot of maps lately, I decided I might as well make a post of these settings that can help make your weapons look much better/accurate to the original versions if its ported from any of the CoD's after World at War. The notes that are posted for each setting are based on the weapon files from CoD4 up to now, since I have not worked with anything before CoD4.
Update: sethnorris brought up a point I forgot about, which was how to fix 3-round burst (or any round burst weapon) that I had posted a couple days ago.
Update 2: Added a fix that will help for those using the hideTags option.
Update 3: Added how to do certain sounds.
New: fireSound and fireSoundPlayer - These two settings manage the fire sound used whenever the player has more than one bullet/projectile/etc. left in the weapon. fireSound controls the sound heard by players in co-op whereas fireSoundPlayer controls the sound heard by the player firing the weapon them self. The names placed here must be defined in a soundalias located in your World at War directory/raw/soundaliases if it is not a sound already in the game (such as fire sounds of other weapons already in-game). The soundalias then must be included in your mod.csv using one of the two:
The one you need to use depends on how your soundalias is written. A sound alias with this would use the variation with all_mp. I'll need to do some testing to see for sure how this works, but that is what I've at least figured out from having this setup throughout most of my maps.
New: lastShotSound and lastShotSoundPlayer - These settings manage the fire sound made whenever a player fires the last bullet/projectile/etc. in their clip. These are setup in the same way as fireSound and fireSoundPlayer are.
New: notetrackSoundMap - This is probably the one most new people have troubles with, although very easy to setup. This defines any sounds that are played during the animation. An animation must have notetracks setup already, whether added when exporting the animation from Maya, adding it through a hex editor, or using Tom's Xanim Exporter. Whichever way you choose from those three work fine if the notetracks isn't already implemented. If you are transferring animations from either CoD4 or BO1, they already have notetracks defined for you, so you don't need to add them yourself. The format for notetracks goes likes this: After the notetrackSoundMap\ part, you type in the name of the notetrack used in the animation. If you don't know what it is called, you can go to your World at War directory/raw/xanim and open up the animation in either Notepad++, a hex editor, or Tom's Xanim Exporter. If using Notepad++/hex editor, you'll need to scroll to the bottom of the file, and you'll find the following: It is easier to see in Notepad++ (in my opinion), but in any case, those actual readable words at the bottom are the notetracks separated by special characters. Simply either copy the words or type it out as the first part right after notetrackSoundMap\. Then you want to hit space and type in the name of the alias you want to define in your soundalias file. You can either make a new alias or use one already defined in World at War, simply by typing in the name of the alias used in the weapons.csv located in your World at War directory/raw/soundaliases. Then if you need to type in a new set of notetracks, simply hit enter (for organization sake) and type in the new notetrack. TL;DR the format is as follows for notetrackSoundMap\:
The soundalias is then included the same way they are for fireSound and such mentioned above.
handModel and hideTags - If you change the viewhands the player uses from the _loadout.gsc (or wherever your scripts set it), you'll want to change it in the handModel setting that way the hideTags option works properly, which allows you to hide parts of the gun. It is most notably used in multiplayer as to not have to have multiple models for different attachments as used in CoD4 up to BO1.
fireType - This is a pretty well-known setting, however some may not have realized that this can be set to a few different things than normal:
Code Snippet
Plaintext
Single Shot
Full Auto
2-Round Burst
3-Round Burst
4-Round Burst
The names of each are self-explanatory. The maximum burst is 4-Round Burst (tested and confirmed by ElTitoPricus). If you want to use any of the three bursts however, you must use the fix described below.
lastFireTime - Apparently this setting is not in a World at War weapon file by default, so if you were to try making a weapon a burst fire (2, 3, or 4), the last mag of the gun would have a slower fire rate. To fix this, simply put after fireTime/timehere/ this:
Code Snippet
Plaintext
lastFireTime/0/
The function exists even though its not automatically in the weapon file, as CoD4 supported it (as seen with the M16 and such) and tests revealed that World at War still had this available.
standMoveF, standMoveR, standMoveU - These affect the gun moving downwards (or upwards, if for whatever reason its set to do so) whenever you walk. These were only modified in CoD4 and CoD5, but later CoD's just depended on code that rotated the gun based on movement direction. It's preferable to have all of these set to 0, but usually the most I'll go is -0.5 on standMoveU, so it doesn't look like it's doing nothing when moving around.
sprintOfsF, sprintOfsR, sprintOfsU, sprintRotP, sprintRotY, sprintRotR, sprintBobH, sprintBobV - These affect the gun moving in a certain when the player sprints. CoD5 was the only CoD to use these for sprinting as no animations were made for sprinting, which allowed people to make a normal and empty version of the animations without having to implement the empty sprint system (which was used first in Black Ops 1). I recommend all of these to be set to 0 if you have sprinting animations that you want to use.
duckedMoveF, duckedMoveR, duckedMoveU, duckedRotP, duckedRotY, duckedRotR, duckedOfsF, duckedOfsR, duckedOfsU - These all affect the position of the gun when ducked and standing still or moving. I recommend these all to be 0 with the exception of duckedOfsU set to -1.
adsZoomFov - This affects the FOV change when you ADS. A majority of the weapons throughout the CoD games use somewhere from 45-55 in intervals of 5. There is no set standard however as it depends on how the gun looks whenever you ADS.
And the last ones usually found near the end of a weapon file:
adsDofStart and adsDofEnd - These settings affect the depth of field settings whenever you ADS. Not sure about what others think, but I enjoy a clean look, therefore I highly recommend setting both of these to 0. That causes there to be no blur whenever you ADS and looks really well with most guns.
There are plenty of others you can find in the weapon file that I did not list here that affect the crosshair sizes (hipSpread___, thanks to ConvictioNDR for the correct setting) and damage multipliers (locHead, locNeck, etc.) that may be worth looking into, but it all depends on what your weapon is supposed to do.
I hope most of you take advantage of these settings to help improve the quality of your weapons... Or make worse if you really wanted to
Description: Refinery is the second map (the first being Shanty Town, released only on ZM) I've created that is a remake of one of the multiplayer maps in the PSP game Syphon Filter: Dark Mirror. I decided to go with this map for two main reasons: 1) Refinery was one of my favorite maps in the multiplayer (being there were only 6, there wasn't many to choose from in the first place) and 2) The way the map is set up is perfect for the conditions of the YAW contest which this map was entered in to (video will be linked at the bottom).
Features: -Two easter eggs, one involving the winnable ending -New weapons from MW1 up to Ghosts (listed below) -Modified Gungame and Sharpshooter (only upgraded weapons) -Customized Dvars for different look (including FOV) -Zombie Counter -Different wall weapon setup -New effect and melee when using upgraded weapons
Weapons (in random order): -MTAR (BO2) -G3 (MW1, different from the previous one in the UGX-Mod) -Commando (BO1) -M16A1 (BO1) -FAL OSW (BO2) -Model 1887 (MW2) -Kiparis (BO1) -Special Easter Egg Weapon -PDW (Ghosts, functions and is animated like the AW version) -FMG-9 (MW3) -PP90M1 (MW3) -Remington 870 MCS (BO2) -Ballista (BO2) -Ripper (Ghosts)
All required links are provided in the description of the video. If you are using Chrome, 1080p60fps is available, though I'm not sure it'll be of much use for this tutorial
I guess I'll go ahead and make my WIP now since most others entering the contest have already as well.
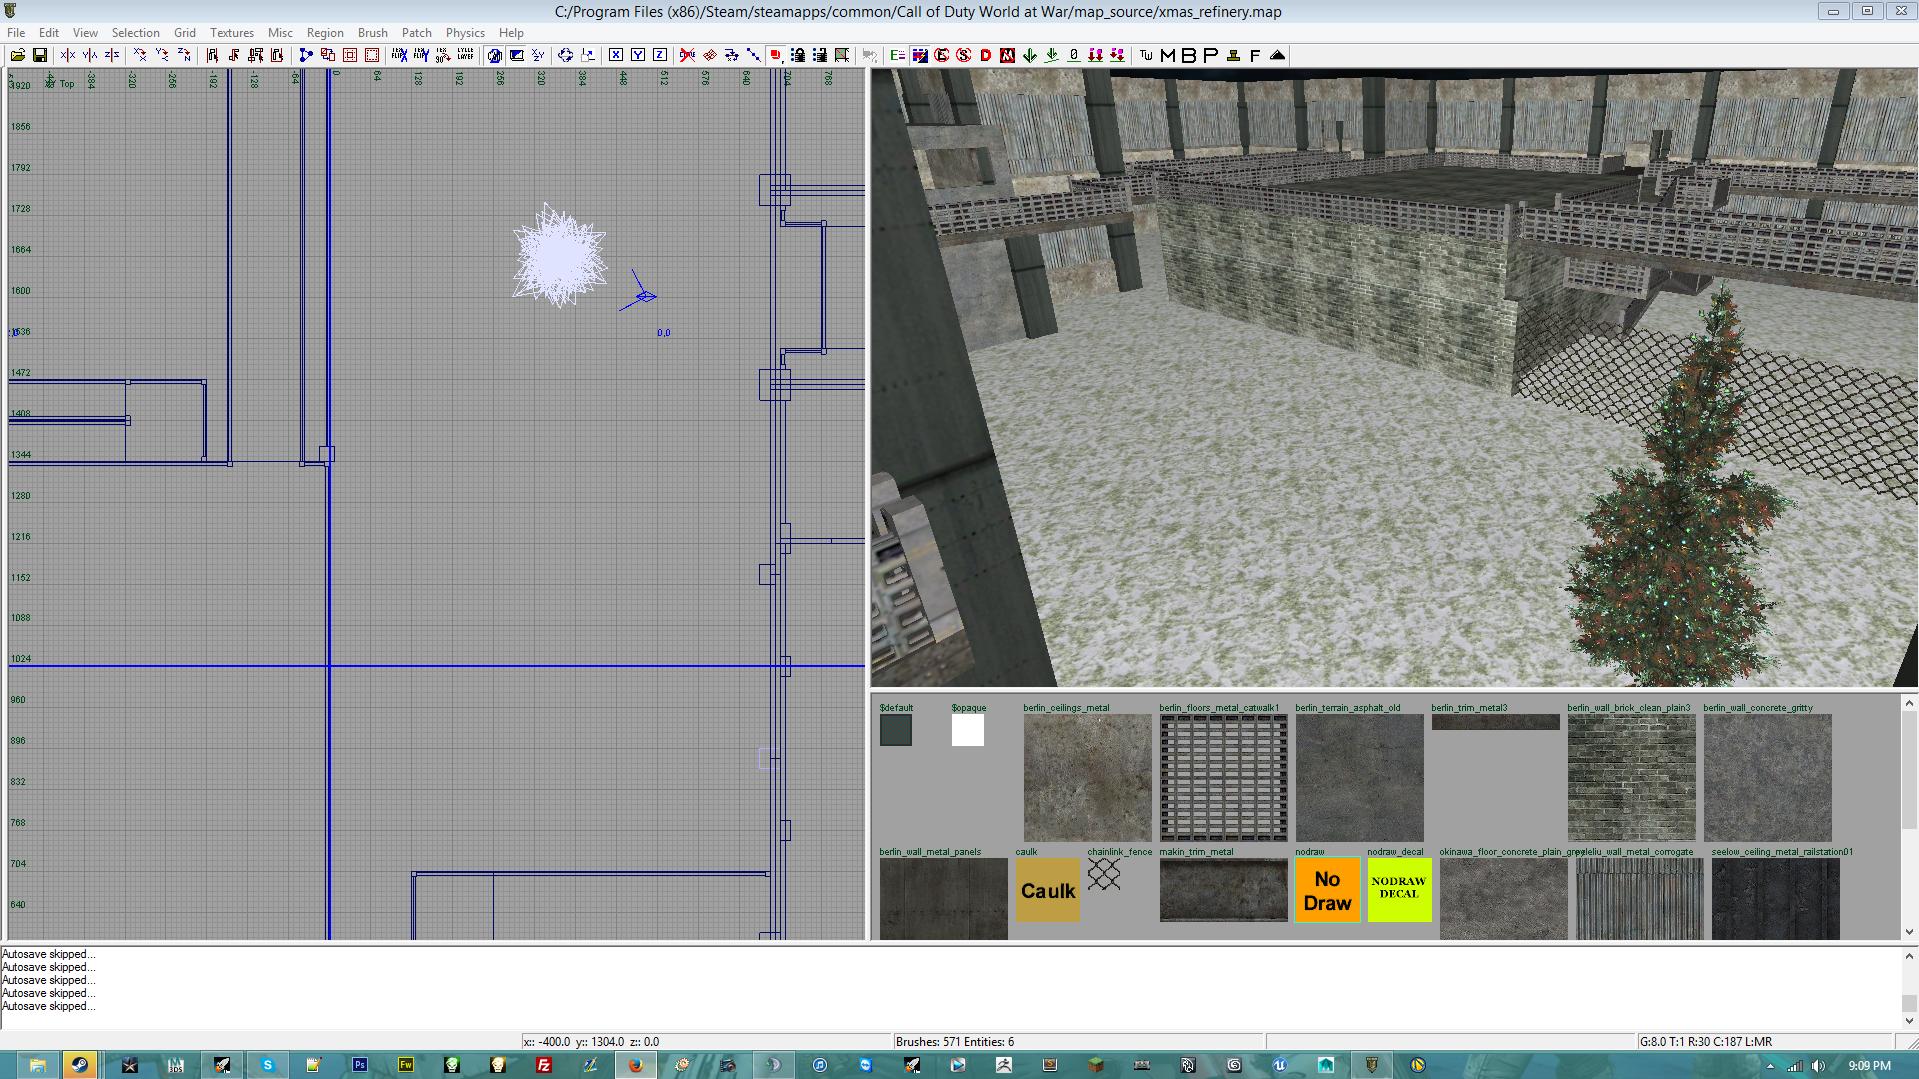
For my map I decided to continue with the remakes I wanted to do of the multiplayer maps from the game Syphon Filter: Dark Mirror on PSP and I thought that this map would fit perfect with some decoration for this contest since the original map was based in Alaska while it was snowing. Some of you may know my first remake, Shanty Town, which was pretty much an exact layout of how the original map was. For this map I plan on changing up some of the areas so it isn't an exact copy of the original but still maintain most parts of the base layout of the map. I've got a lot of things planned already that I think would go great with the map which I'll reveal later on, if I don't run into the errors I fear will occur at some point (fx limit/sound limit), but hopefully the final product will be worthwhile. Below I'll be slowing adding progress as I get to it.
Update 0 (Beginning):
About 2-3 hours work from last night and this morning (was nitpicking placement of stuff).
Update 1:
I finally got around to going through the singleplayer version of this map (unfortunately the multiplayer was shut down awhile back by Sony) and saw that the walls looked slightly different, so I went through and changed the look of the walls and finished the top part. I also managed to finish the loop around the map with a different part than the original in the outside area. All that's left for the actual level design is just finishing up the inside areas (setting up the walls and ceilings), filling in what will be in the middle area of the map, and creating the rooms where the players will spawn. Once that's done, I can finally add some textures, which will probably be what will be shown in the next update
Update 2:
Finished texturing the map, going to start adding in models and lights soon.
Update 3 (About time for an update eh?):
Thanks to help from Conrow Wallace (lights), Issac (dvars), and DiduKnowiPwn (scripting), I managed to get the look for the map that I think will look better than the night time look I originally planned on, which is now a nice sunset
Here's my version of this process, showing from extracting the model to converting the assets in Asset Manager. All download links are included in the description.
Introduction Basically, you can create mods for Black Ops Zombie Maps through this method. You can only create however weapon/scripted mods, but not maps. Please be sure to follow ALL instructions provided, as you can cause your game to be stuck on your mod unless you do a Verify Integrity of Game Cache through Steam.
I have to give thanks to DidUKnowIPwn for discovering this method. Update: Thanks to ConvictioNDR for finding the fix for the files for Kino; the mod.csv for it has been updated.
What You'll Need ~Call of Duty: Black Ops on Steam ~Call of Duty: Black Ops Mod Tools BETA ~An FF Extractor (Tom_Bmx's works perfect for this http://tom-crowley.co.uk/downloads/?id=11 )
Before Starting BEFORE you begin, you will want to go to your Black Ops directory, then go to zone, then Common and create a backup of the _patch.ff of the map you want to create your mod for. If you want to make your mod for multiple maps, then you will have to make backups of each one.
These are the files that I am referring to above. The maps are as follows:
Code Snippet
Plaintext
zombie_coast ~ Call of the Dead
zombie_cod5_asylum ~ Verruct
zombie_cod5_factory ~ Der Riese
zombie_cod5_prototype ~ Nacht Der Untoten
zombie_cod5_sumpf ~ Shi No Numa
zombie_cosmodrome ~ Ascension
zombie_moon ~ Moon
zombie_pentagon ~ FIVE
zombie_temple ~ Shangri-La
zombie_theater ~ Kino Der Toten
ALSO, if you have not used the Mod Tools before and have just installed it, make sure to click on the Converter button in Launcher to convert any assets that may be necessary.
Creating the Mod First thing you will want to do is open your FF Extractor (in this case I'm using Tom's) and extract the contents of the _patch.ff of the map you want to do your mod for. [NOTE: If you want to make your mod for more than one map, you will have to extract the files from each map's _patch.ff and do this process for each one separately.] For this example I am doing this for Kino Der Untoten, so I would extract the files from zombie_theater_patch.ff. When extracted, you should have a folder (if using Tom's) in the same directory as the _patch.ff that you extracted with its name, as shown here:
Next, copy the folders extracted and go to your "mods" folder and create a new folder called whatever you want. For this example, I was working on a mod with Titanfall weapons, so I called mine "zm_titanfall" as shown here:
From here, you create your mod as you normally would on Black Ops Multiplayer. For those of you who have done work on World at War (which I'm guessing most reading this have) it is fairly similar, although there are some differences. I'm planning on covering weapon porting/converting in a separate tutorial. Whenever you go to put your weapon files in your mod's folder, be sure to name them something that will be loaded in game without having to use some sort of external console (which is not allowed, and can risk a VAC ban, though I am not sure of Singleplayer having it). For this example, I decided to replace the wall weapons and beginning pistol, like this:
If you don't know the name of the weapon files for the weapons on the wall for Black Ops, they are as follow (NOTE: This list is for Kino Der Toten. Most of the other maps have the same ones or a few removed.):
Once you are ready to compile your mod, open up Launcher (either from Steam or from the "bin" folder inside of the Black Ops Directory) and switch the mod to yours. Click on Zone Source. Notepad should open up with no text (if you have not created one/modified it yet). Here, include the weapon files and sound alias you are using (if needed). THEN YOU MUST also include the scripts that were extracted earlier at the beginning of the file. To make this easier for you, I went through each map and made a list of each script you need for whichever map you are doing your mod for:
All you have to do is copy the lines of code from whichever map you are doing this mod for and paste it into your mod.csv, as shown here:
Save the mod.csv, and close it. Then tick in the IWD File List ONLY the "images" folder, "sound" folder, and "weapons" folder. Then tick under Build Mod "Link FastFile" and "Build IWD" and hit the "Build Mod" button. Once it finishes compiling, go to your mod's folder and make a copy of both the mod.ff and your IWD, as shown here:
Rename the copy of the mod.ff (mod - Copy.ff) to the map that your are modding's _patch.ff, so in my case I would use "zombie_theater_patch.ff". Rename your IWD to "iw_xx.iwd" (NOTE: xx represents any number past 41. The first 42 numbers [00 to 41] are used for the base game and DLC's IWDs, and you don't want to replace them.) BEFORE CONTINUING: Make sure you have made the backup of the _patch.ff of the map you are doing this mod for in your Black Ops Directory/zone/Common folder, or else your game will only load your .ff and will not let you play with others online.
Installing the Mod First copy the IWD to your Black Ops Directory/main folder. It SHOULD NOT replace any IWDs that are in there already if named correctly. Then copy the _patch.ff from your mod's folder to your Black Ops Directory/zone/Common folder. It SHOULD replace the _patch.ff in there. Now simply run the game and your mod should now load when you play the game! Here are some screenshots of my mod and a video from DidUKnowIPwn's perspective, which I will link below. To install, you simply do what I said here in this section.
I decided to go ahead and make this tutorial to showing almost everything someone needs to know to at least get their own animations working. There are some things that I don't use that exist in the rig that could help out but that would require you to figure out on your own. Regardless, here it is:
I'm getting an issue with any new maps I compile where it freezes every couple of seconds/minutes. I'm not completely sure what the problem is but I've narrowed it down to something wrong to a script due to the console saying:
It shows up every time the game freezes and I tried with developer 1 and developer_script 1 on but the game would crash upon the first freeze. Anyone have any ideas?
 Show Posts
 ): https://www.mediafire.com/?3nmceh1nnsl213j


 ...
...